


Brush styling curls means using a styling brush to guide already-detangled hair into curl groups before drying. Start with prepared hair, work in comfortable sections, and let each section settle before moving on. The goal is a routine you can repeat comfortably—not a perfect spiral in every section.
You know that moment when one side of your hair is doing exactly what you wanted, and the other side seems to have made different plans? Let’s make that moment a little less mysterious. You don’t have to buy a whole new shelf of products. First, let’s look at what happens between picking up your brush and putting it down.
Before you pick up the brush, make this easier on yourself
Detangling and defining are different jobs, even when one tool can help with both. A knot needs patient attention; a prepared section is ready for shaping. If you’re trying to do both at once and the brush keeps catching, pause the styling step.
The American Academy of Dermatology’s curly-hair guidance recommends working through tangles in sections on wet, conditioned hair and avoiding dry brushing that can contribute to frizz and breakage. That’s your preparation step, rather than a reason to pull a styling brush through a knot.
Keep your usual styling products for this first attempt. A new brush, a new cream, and a new drying method all at once make it hard to tell what actually made the difference. Follow the instructions on your products, including when they should be applied.
For the product-specific starting method, keep our Curl Training Guide nearby. This article is your companion for the little decisions that come up while you practice.

Try one section with me
1. Choose a section you can comfortably control
Pick an easy-to-reach area first. You don’t need to begin with the back of your head and turn wash day into an arm workout. Clip neighboring hair aside if that helps you see what you’re doing.
There’s no universal section size to memorize. Instead, ask: can I reach this section easily, and can I see whether the tool is moving comfortably? If the answer is no, make the section more manageable.
2. Follow your brush’s method, with a relaxed hand
If you’re using The Curl Trainer® PRO Curl Defining Brush, follow its wet-or-damp styling instructions. Let the tool move without forcing it, then release the section. You’re looking for a comfortable technique you can reproduce, not the tightest grip you can manage.
If the tool catches, stop and check the section rather than pushing through. The useful question is “what needs adjusting?”—not “how many more passes can I do?”
3. Look at the released section before changing anything
Does it group together? Does it look stretched? Is it separating into smaller pieces than you wanted? Notice the result before trying a different technique. That little pause gives you more useful information than immediately starting over.
You can also leave a neighboring section styled with your usual method. Compare the two once dry. This is a small personal experiment, not a promise that one method will win on every part of your head.
4. Repeat what feels comfortable
If you like the result, keep your approach similar as you move around your head. If a different area needs a different approach, that’s allowed. A useful routine can have adjustments; it doesn’t need to be identical in every section.
Let’s troubleshoot without starting your whole routine over
| What you notice | Your next experiment |
|---|---|
| The curl looks stretched after release | Try a gentler grip and less pulling; compare after drying. |
| You can’t comfortably control the section | Separate a smaller working section and reassess. |
| Results vary around your head | Take a photo and note which area needs a different approach. |
| You like the look but the routine takes too long | Focus detailed styling on the areas you care about most. |
These are styling experiments, not diagnoses. If your hair hurts, snaps, or keeps snagging, stop. A good-looking result isn’t worth forcing a technique that feels wrong.
The finish matters, too
Give your style a chance to dry before judging the final look. Wet curl groups and a finished style aren’t the same view. If you want a useful comparison, take photos in similar lighting after each test is fully dry.
The Curl Trainer PRO also has a built-in root pick. Its product instructions describe using that feature at the roots once hair is dry; it’s a different action from brushing through the styled lengths.
And please don’t turn one imperfect attempt into a verdict on your hair. Write down what you tried and what you’d change. “I liked the front with a lighter hand” is genuinely useful information for your next wash day.
A tiny practice plan
- Choose one easy-to-reach area.
- Use the products you already know.
- Compare your usual method with brush styling.
- Photograph the dry results.
- Keep the version you prefer, or make one adjustment next time.
Ready to see the tool and its instructions together? Explore The Curl Trainer PRO and use the full curl-training demonstration as your starting point. You bring your preferences; the routine should work around them.
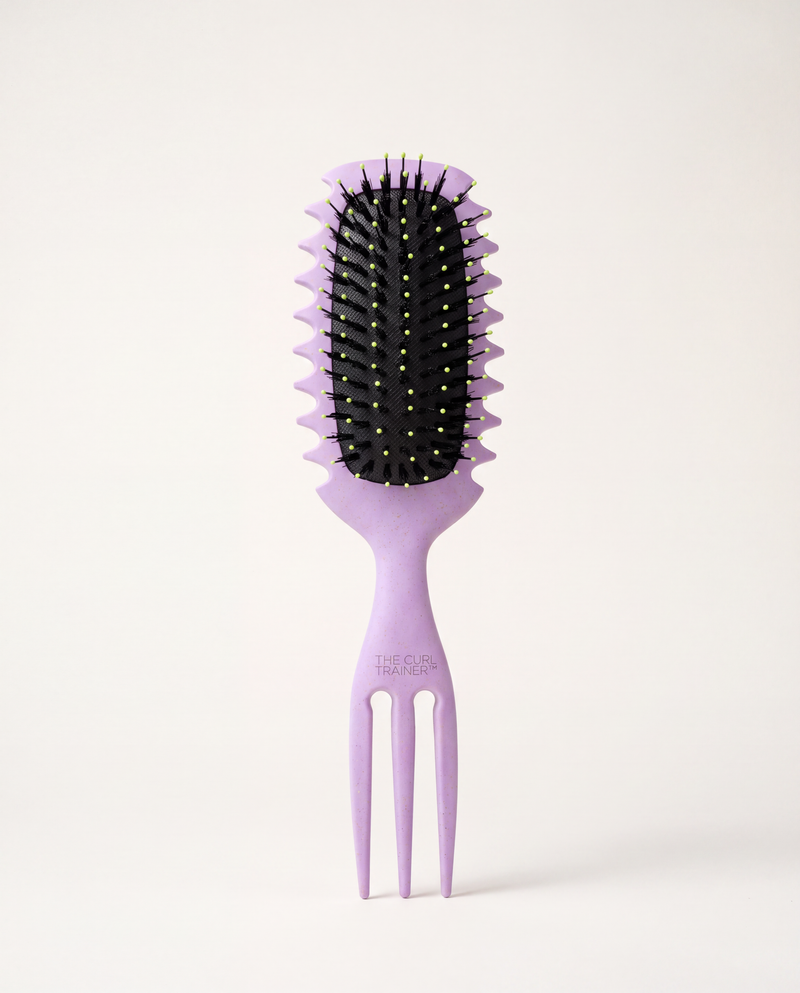 The Curl Trainer PRO product image from Purple Mango Beauty.
A few questions you might be asking
Is brush styling the same as detangling?
No. Detangling removes knots; brush styling shapes prepared sections. Resolve tangles before attempting definition.
Do I need to brush-style every section?
No. You can focus on selected areas and use your usual method elsewhere. Choose the amount of styling effort that suits you.
What if my brush keeps catching?
Stop rather than force it. Check for tangles, reconsider your section size, and follow the tool’s instructions. Discontinue a technique that causes pain or breakage.
Will brush styling permanently change my curls?
Treat it as styling your existing texture, rather than a permanent change. Judge the result after drying and expect individual variation.

